Understanding When and How to Re-Bond Floor Tiles
Floor tiles add elegance, durability, and functionality to any space, but over time, they can become loose due to wear, moisture, or improper installation. Ignoring these issues can lead to more extensive damage, including cracked grout, uneven surfaces, and potential tripping hazards. Re-bonding floor tiles is a cost-effective solution that restores stability without replacing the entire floor. Understanding when a tile needs re-bonding and learning the proper techniques ensures a longer-lasting, visually appealing finish. This guide will help homeowners and professionals identify the signs and execute a successful tile re-bonding process.
Recognizing Signs Your Tiles Need Re-Bonding
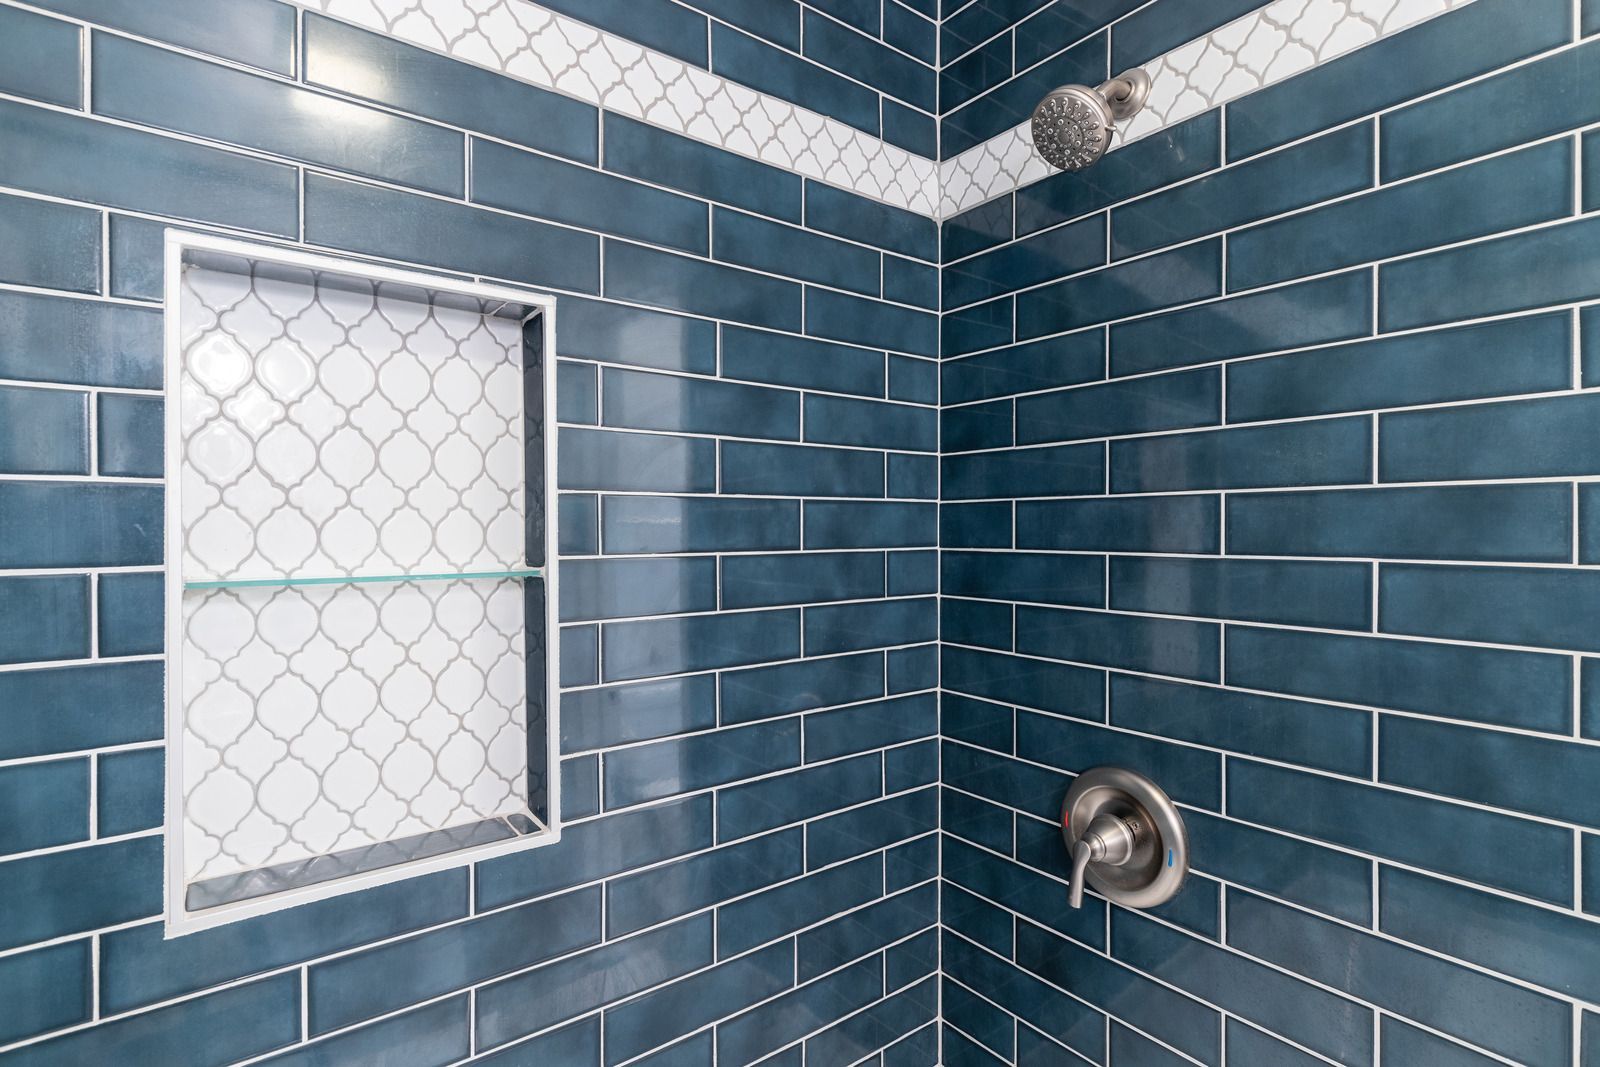
The first step in tile re-bonding is recognizing when action is needed. Loose tiles often produce a hollow sound when tapped. Cracks in grout or visible gaps around tiles can also indicate adhesive failure. In high-moisture areas such as bathrooms and kitchens, water infiltration can weaken the original bond, causing tiles to shift or lift. Early detection prevents minor problems from turning into expensive repairs, ensuring safety and maintaining the aesthetic appeal of the floor.
Preparing for the Re-Bonding Process
Proper preparation is crucial for successful re-bonding. Begin by cleaning the area around the loose tiles, removing dirt, grease, or old adhesive residue. This ensures the new adhesive adheres effectively. For tiles that are slightly lifted but not fully detached, gentle prying may be required. In cases where tiles have completely detached, carefully remove the tile, scrape off the old adhesive, and clean both the tile and floor surface thoroughly.
Choosing the Right Adhesive
Selecting an appropriate adhesive is critical for a durable re-bond. Cement-based adhesives work well for most ceramic and porcelain tiles, while epoxy adhesives provide superior strength for high-traffic areas or moisture-prone spaces. Following manufacturer's instructions for mixing and application ensures optimal results.
Re-Bonding Tiles Step-by-Step
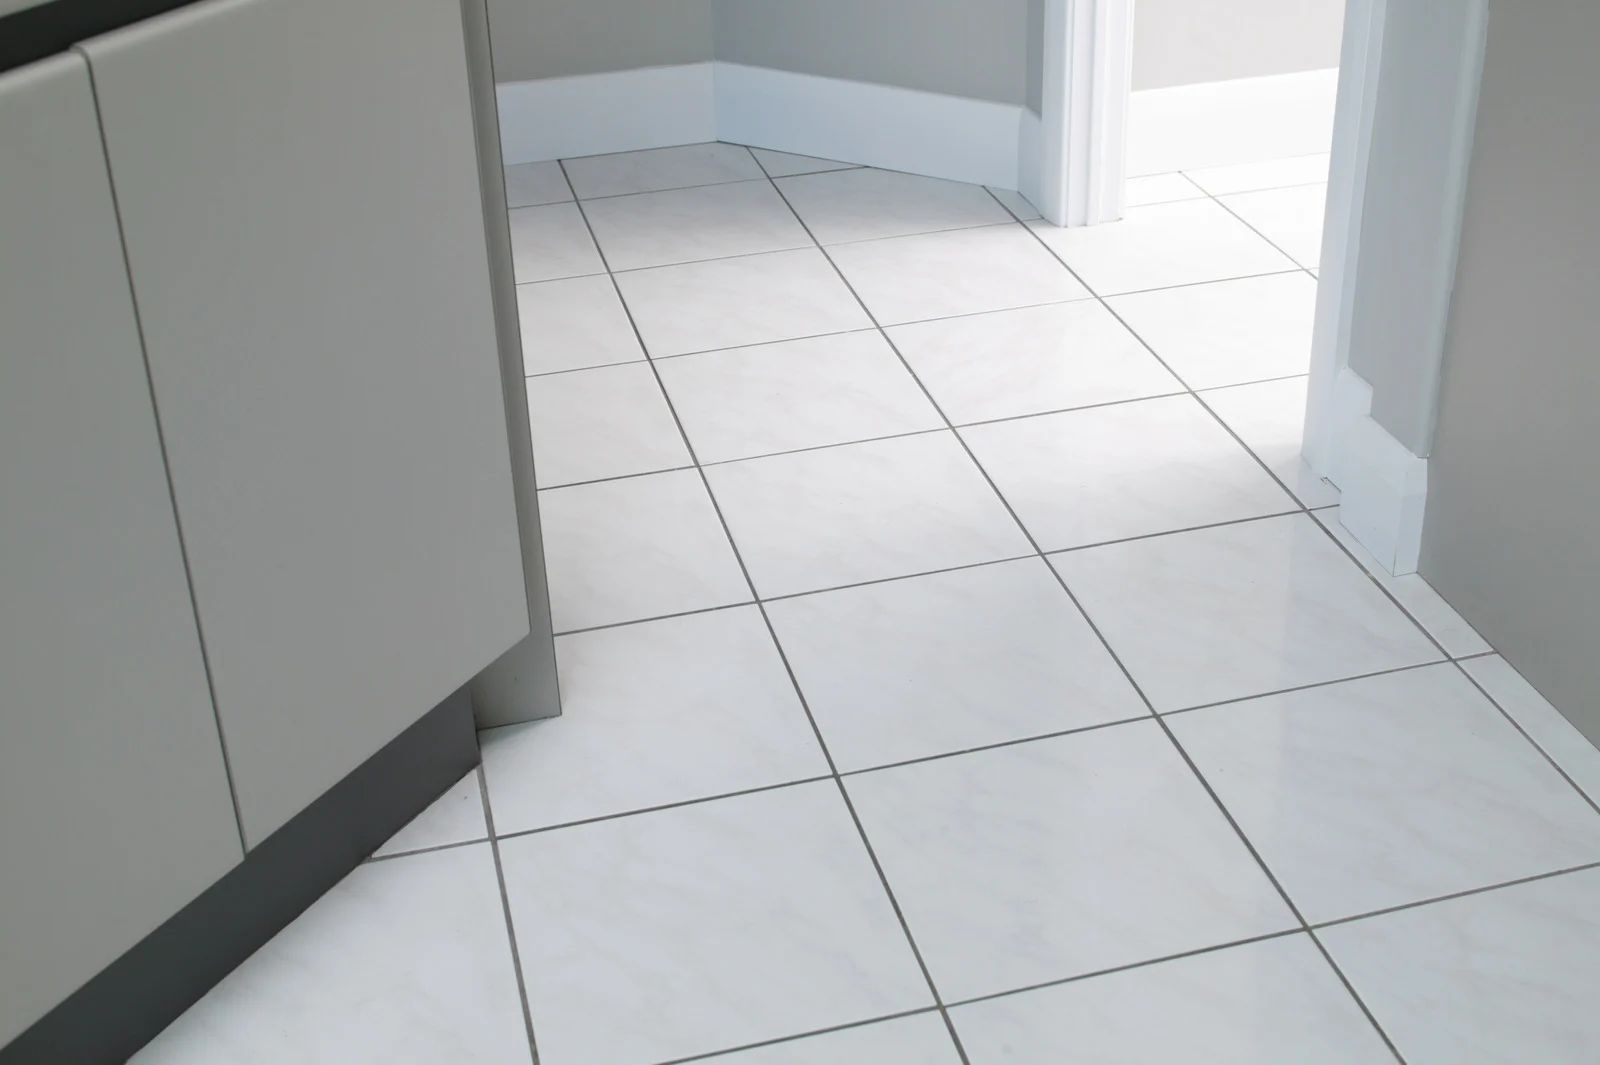
Apply a thin, even layer of adhesive to the back of the tile or the floor surface. Press the tile firmly into place, ensuring alignment with surrounding tiles. Use spacers if necessary to maintain even grout lines. After placement, allow the adhesive to cure according to the manufacturer's guidelines. Once cured, re-grout around the tile edges to restore a seamless finish. Cleaning the grout lines and tile surface ensures a polished, uniform appearance.
Post-Re-Bonding Care
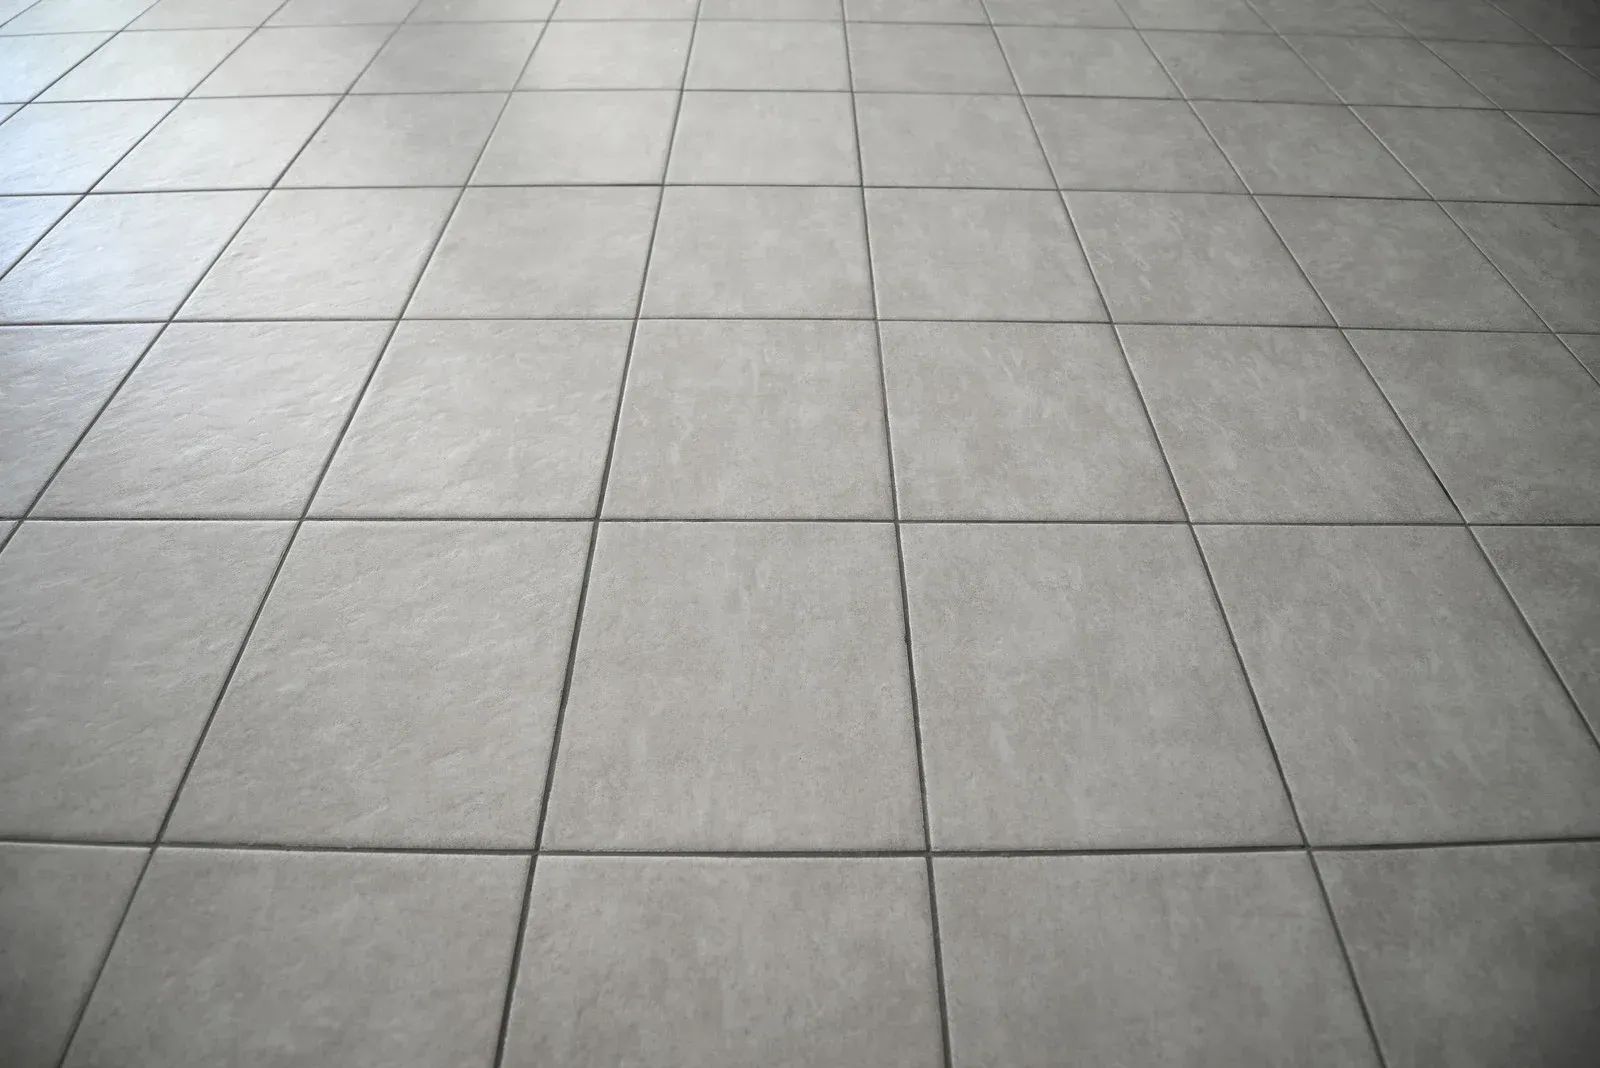
After re-bonding, avoid heavy traffic on the floor for at least 24-48 hours. Regular maintenance, including cleaning with non-abrasive solutions and inspecting grout integrity, prolongs the life of re-bonded tiles. Addressing minor issues promptly prevents them from recurring.
Ensuring Durability and Elegance in Every Tile
For over 32 years, Wichita Groutsmith has been a trusted provider of grout and tile restoration services in Wichita, Kansas. Specializing in both residential and commercial projects, the team brings unmatched expertise in re-bonding and restoring floor tiles to their original strength and beauty. Using industry-leading techniques and high-quality materials, Wichita Groutsmith ensures every project achieves lasting results and flawless finishes. Homeowners and business owners alike can rely on the company’s experience and attention to detail for a safe, durable, and aesthetically pleasing tiled surface.