
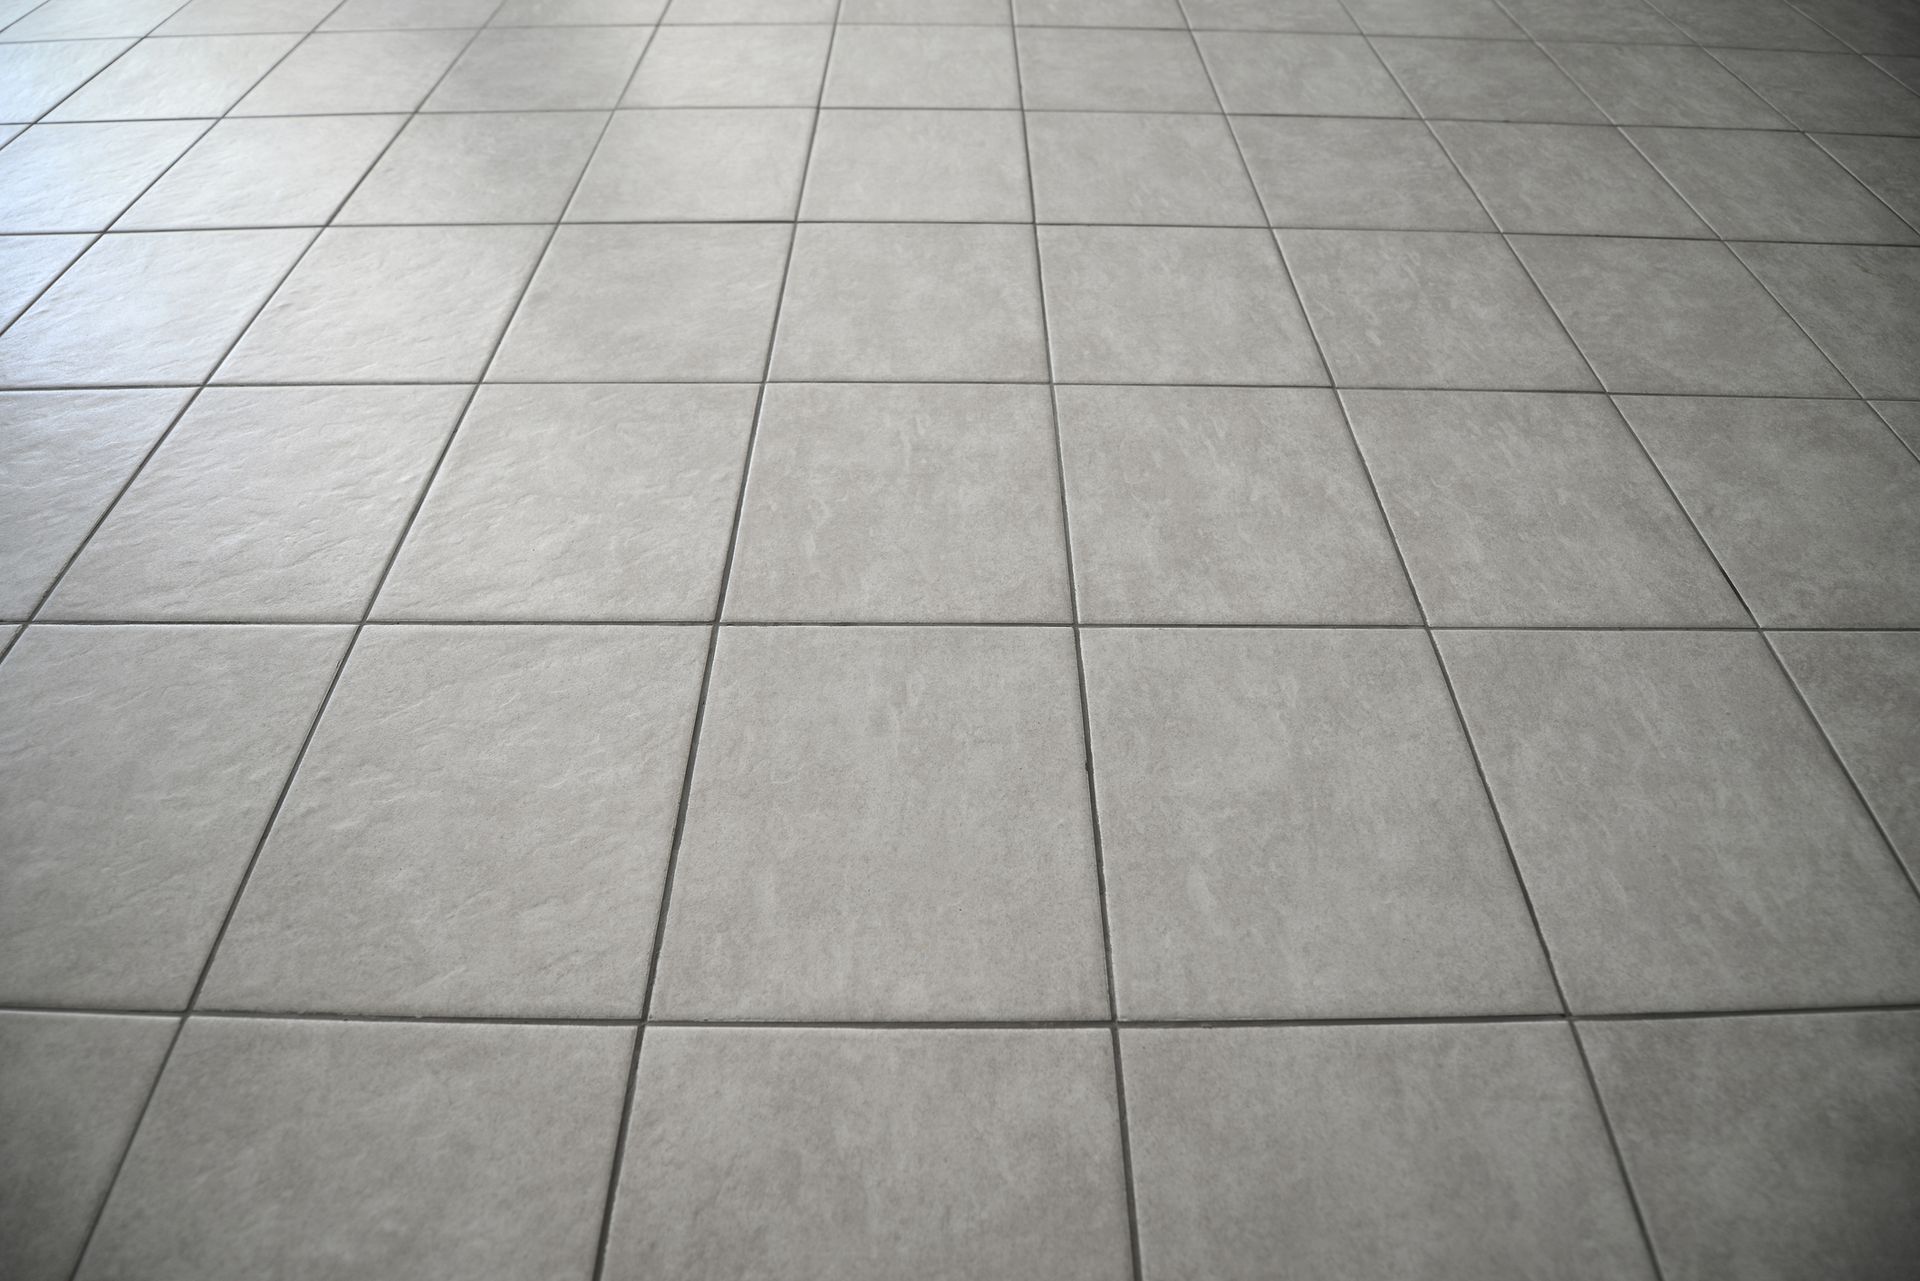
Over time, even the most durable tile floors can lose their shine and appeal due to dirt buildup, stains, and worn grout. While regular cleaning helps maintain a floor’s appearance, it cannot address deep-seated grime or discoloration. Foot traffic, spills, and moisture can gradually wear down tiles and grout,
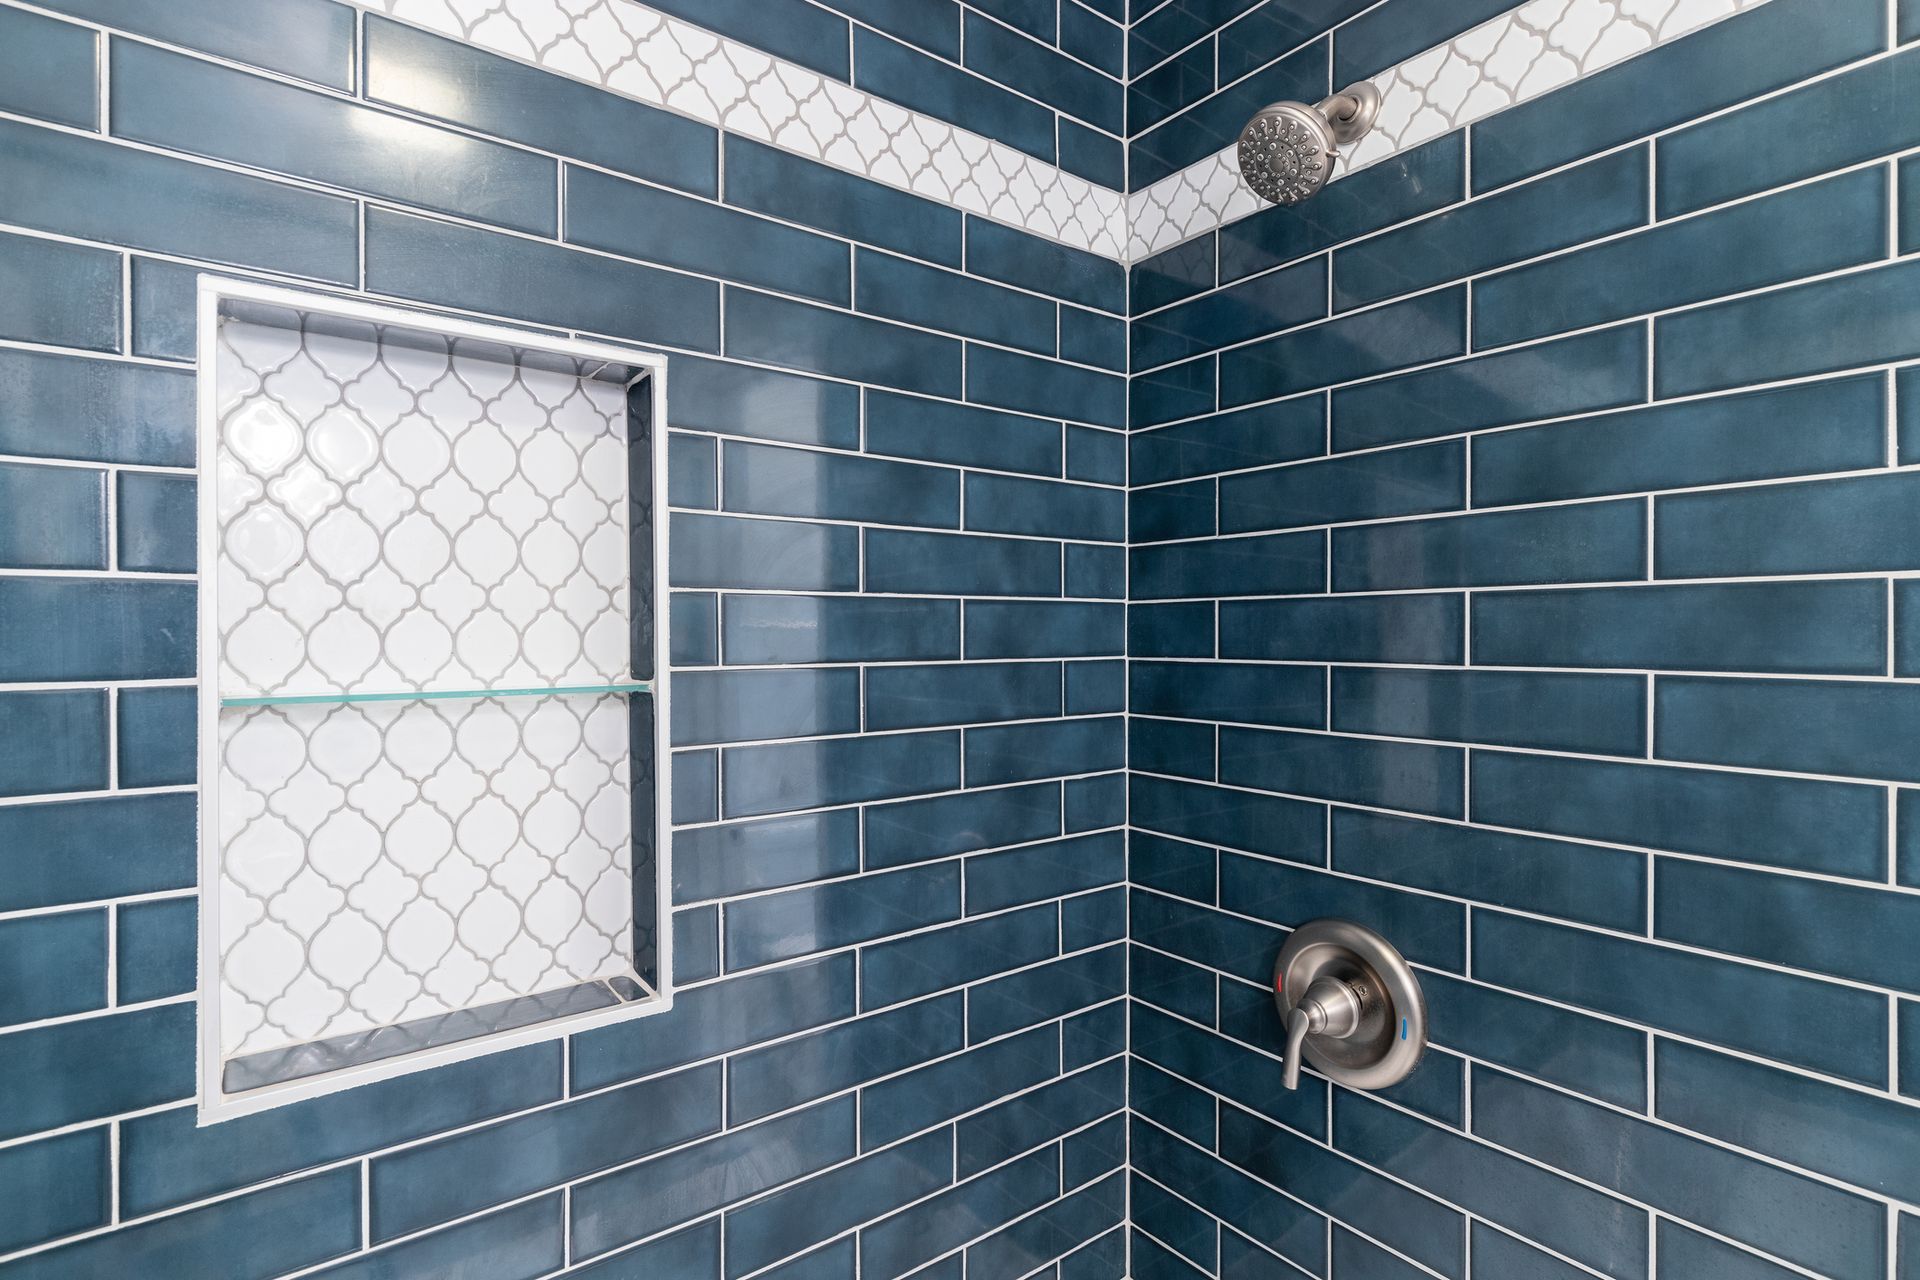
A well-maintained shower is more than just a convenience; it’s an essential part of a clean and safe bathroom. Over time, showers can experience issues such as cracked tiles, mold growth, and damaged grout, which not only affect appearance but also lead to potential water damage.
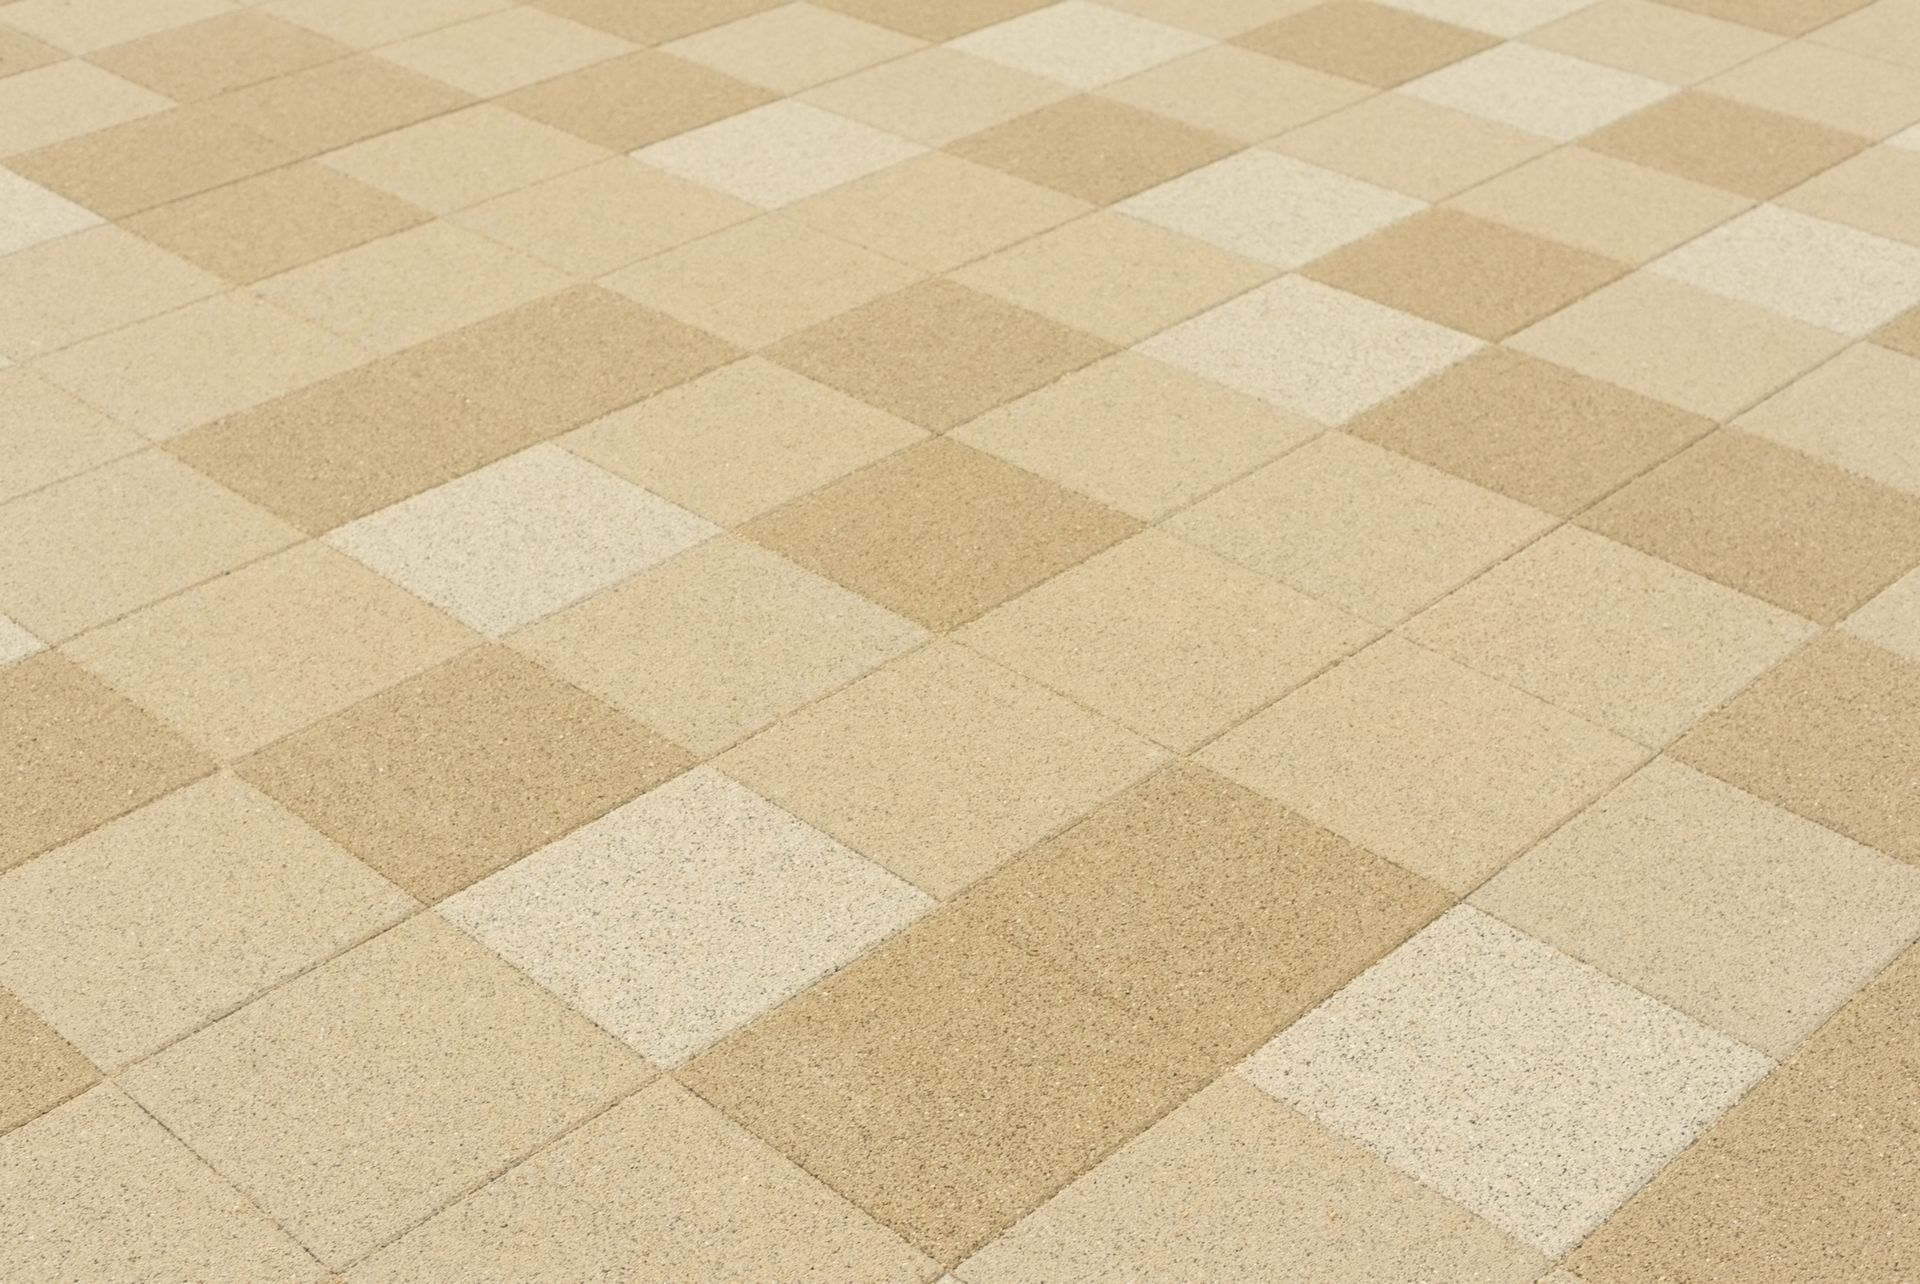
Floor tiles add elegance, durability, and functionality to any space, but over time, they can become loose due to wear, moisture, or improper installation. Ignoring these issues can lead to more extensive damage, including cracked grout, uneven surfaces, and potential tripping hazards.
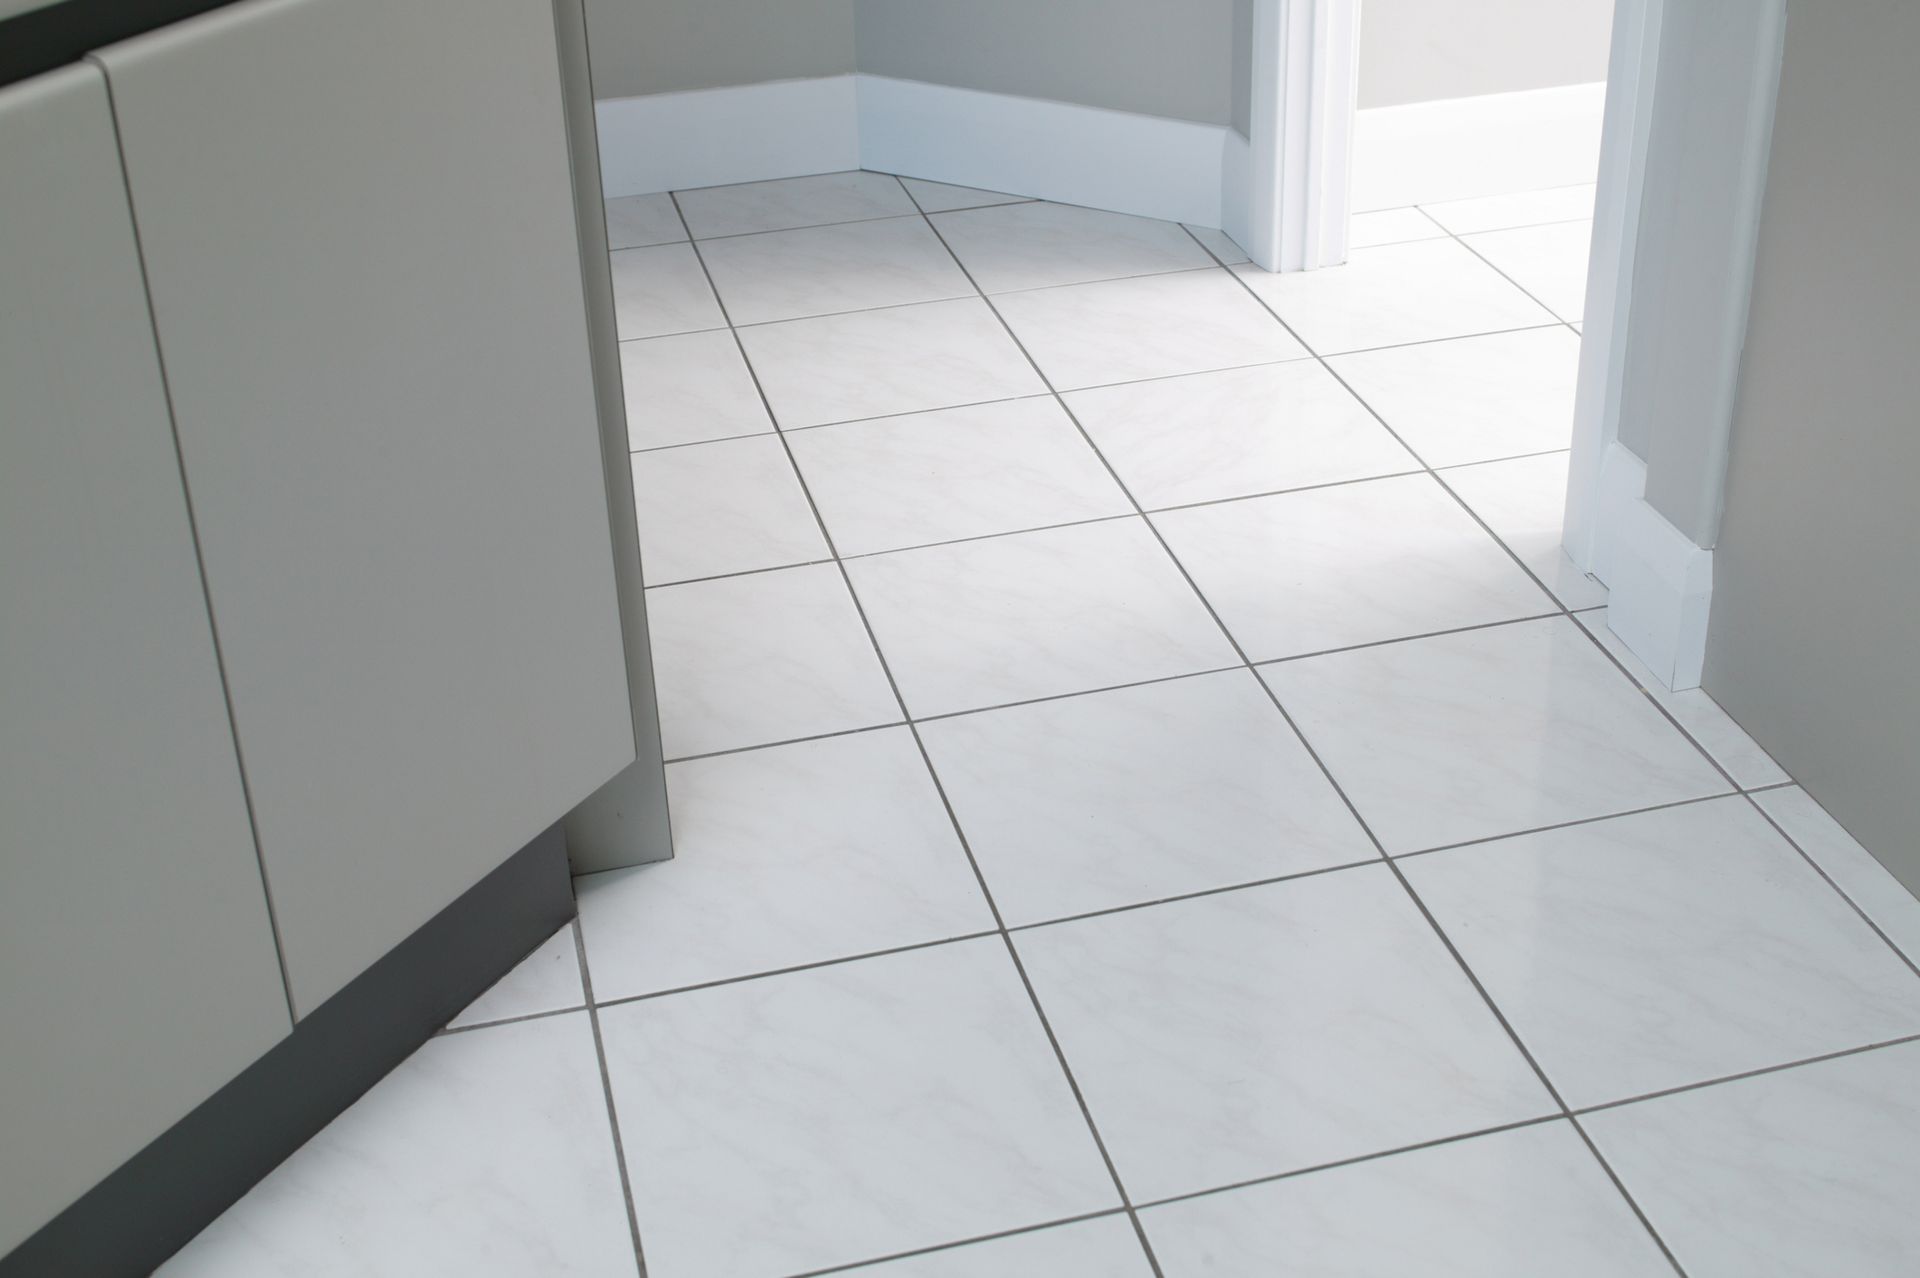
Floor tiles and grout are vital components of any home or commercial space, providing durability, style, and ease of maintenance. Over time, however, they can crack, chip, or discolor due to wear and tear, moisture, or improper installation. Ignoring these issues can lead to further damage, higher repair costs,